COCO Conversion
After your base data optimization is complete, you can use the "Object Detection Dataset" feature in ATSVisionOps to export the annotated data in the widely used COCO/YOLO format for deep learning.
1. Image Format Requirements (Important)
Formats Must Never Be Mixed
To ensure efficient algorithm execution and stable data parsing, ATSVisionOps imposes strict requirements on the format of the input images:
- Supported formats: Only .bmp or .png (lossless formats commonly used in industrial inspection).
- No mixing: Do not store images of different formats in the same folder (for example, having both
.bmpand.pngat the same time). - Built-in self-check: The software has integrated format mixing detection. If multiple formats are found to coexist, the system automatically blocks the operation and reports an error.
2. Conversion Modes
This tool provides two flexible conversion modes to accommodate different data organization habits:
A. Single-Directory Mode
Put all images and JSON annotations into the same folder for conversion.
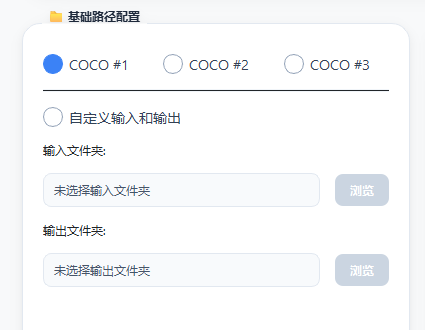
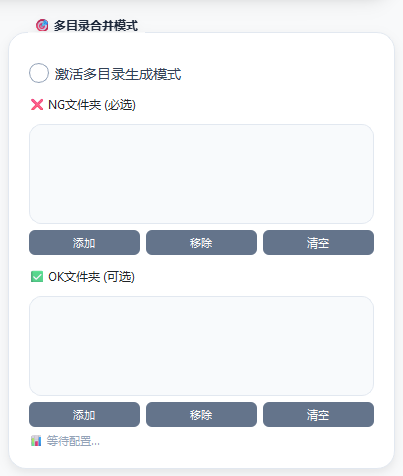
B. Multi-Directory Generation Mode (Recommended)
When your data is distributed across different paths, you can use this mode to achieve a many-to-one merge:
-
Multiple NG support: You can select multiple folders containing defect samples (NG) at the same time.
-
Multiple OK support: You can select multiple folders containing normal samples (OK) at the same time.
-
OK samples are optional: The OK folders are not required. If your task only concerns defect detection, you can skip adding the OK folders.
-
Final output: The system automatically scans all selected paths and aggregates all the data into one unified COCO file.
3. Workflow
Step 1: Prepare the Input Folders
Make sure that the image and JSON annotation file names within each folder correspond one-to-one exactly.
Step 2: Run the Conversion
- In the tool interface, select "Multi-Directory Mode" or "Single-Directory Mode".
- Click the corresponding [Add Folder] button to import your NG and OK paths one by one.
- Confirm the parameters in the configuration panel.
After confirming that everything is correct, click the [Start Conversion] button.
How do I determine the configuration?
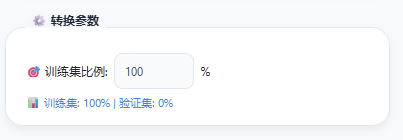
- Ratio setting: The train ratio (Train Ratio) generally stays at its default value, that is, 100.
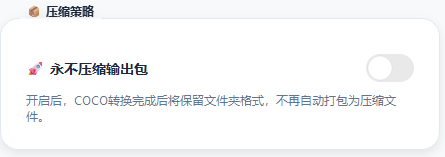
- "Never output a zip archive": This option generally stays turned off.
4. Advanced Configuration
Train Ratio and Validation Set Logic
- Ratio setting: The train ratio (Train Ratio) defaults to 100.
- Validation set assignment: Under this default setting, the system does not split the dataset, that is, no validation set (Val) is generated.
- Note: If you need to monitor the generalization ability of the model (mAP) during training, manually adjust the ratio (for example, set it to 80 or 90).
Output Control: Never Output a Zip Archive
The advanced options in the conversion settings include a "Never output a zip archive" feature:
- When enabled: The generated COCO result is stored as a native folder, and the system will not package it into a
.zip. - When to use it: It is recommended to enable this feature when you need to directly check the integrity of the output files, or when you want to compress them yourself with third-party compression software for higher efficiency.
5. Output Results and Next Steps
After the conversion is complete, the system generates a standard-format COCO annotation file at the target path (usually instance_train.json).
Recommended Next Steps
- Sample balance: If there are too few samples for a defect category, it is recommended to increase the samples through the Data Augmentation feature before running the conversion.
- Training integration: This file contains the path information, category information, and bounding box coordinates of all images, and can be fed directly into YOLO or other mainstream deep learning frameworks.